
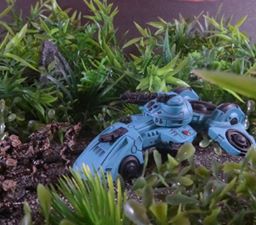
Experienced player Geordie Irvin has already written a few articles for the Nexus, and even run an online, community Chryseis campaign. Here, he gives a few tips and tricks on how he manages to deal with the heavy tanks and vehicles in Antares (all photo’s from Geordie, too!).
Dealing with armoured vehicles and beasties on the battlefield can be a tough challenge. You can easily spend most of a game lobbing cannon rounds at them without making a dent. The fact of the matter is that without some very specific kit, you are unlikely to take one out reliably. Even most of the ‘anti-tank’ weapons will still be saved against 60-80% of the time. And even on a fail you are at the mercy of the damage charts. The target may blow up, It may take one pin, or anywhere in between.
I’ve found that suppression works more reliably. If you hit a hard target with enough of the right kind of shooting, then it will waste precious actions rallying or going down. That’s less actions it has to blast your army to bits. And of course any lingering pins will make it difficult for them to return fire effectively. With a bit of timing and luck you can also make those pins stack up to break it.
Below are the main ways you can fight vehicles and monsters with standard armies as well as some specific kit you can use to make them hurt.
1. Net Ammo
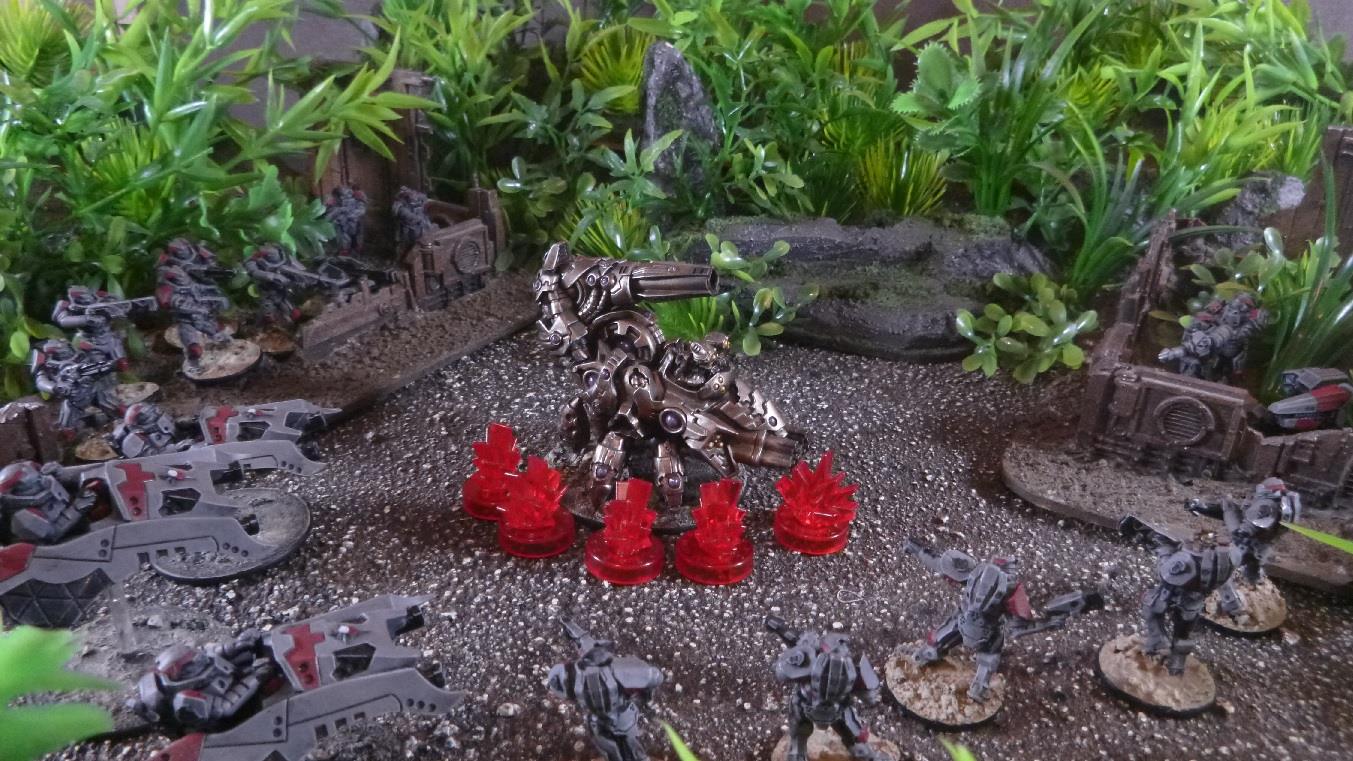
The easiest way to supress anything is to drop a bunch of pins on it with Suspensor Net ammo from an X-launcher or larger. Because vehicles tend to have a large footprint they are pretty easy to hit with this sort of attack, even on a scatter.
If you are using this as part of a combined strategy, make sure you drop net first. It can only increase the number of pins to what you roll and is less effective the more pins there are on the target to begin with.
2. Concentrated fire
When you are hitting an armoured target with the aim to suppress it, you need a Strike Value (SV) equal to the target’s Res value above 10. That way it will not be heavily armoured and will take a pin regardless of what they roll to save. So if you are shooting one of the main battle tanks, a C3M4 for example with Res 13, you need SV3 or greater.
So, to start racking up the pins just hit the one target with as many of these weapons as possible: plasma light supports, plasma lances, overload ammo – you name it. Once you start getting three or four pins on the tank, then it is going to need to look at using one of its actions to Rally. Even better, if you open up with Net ammo first and then lay on the concentrated fire, it could very quickly be in danger of being pinned out.
The secondary effect of hitting a target with this much high SV fire is that it may actually fail one or two of the saves. That means that it will probably take even more pins or, if you’re lucky, get destroyed outright!

3. Massed Light fire
One option that can get overlooked is massed SV0 shots. Because the target has to fail a save to take a pin, they can seem like a bad idea. But if you have ENOUGH shots hitting the target, then they are bound to fail eventually.
A single failed save will do at least one pin but multiple may cause more. Whilst light weapon fire adds 5 to the Damage Chart roll, attackers still take the single best result from their Damage Chart rolls (one for each hit), so there is a chance to get a half-decent result and stack up the pins.
A lot of regular units can muster a fair few SV0 or SV1 shots such as plasma carbines on scatter, mag repeaters, even lugger guns! If you have large units of Ghar outcasts with luggers, Tsan Ra, or Hazard Squads, then you can really lay down the fire. In addition a timely targeter shard combination can make sure more than 70-90% of those shots are hitting and forcing saves.
4. A Tank Killing Kit
While most units have something they can do to fight tanks, there are a few that are really good at it. The main qualifier is to have a strike value high enough that the target will probably fail MOST saves.
- Grenades used in hand-to-hand combat are the cheapest option. A large unit with grenades can easily compound the SV to the point where a vehicle is rolling low numbers to try and survive. Plasma grenades are fine, but to get serious you want SV2 or better such as with implosion grenades or fractal charges (mind teh Hazardous Hand-to-hand, though!). It’s worth mentioning that the Algoryn distort spinner in plasma shell mode is lethal against hard targets with two SV2 grenade attacks per trooper.
- Compression bombards are the best long ranged solution with plasma bombards not far behind. SV9 or 10 within 50” is pretty hard to beat. Most MOD2 battle tanks and monsters are only saving against that 30-40% of the time.
- Vorpal charges. Only accessible to Boromites, these are the terror of vehicles as they make the tank roll against its Agility instead of Res to save. It’s worth thinking about bringing them in as part of a Boromite mercenary Work Gang or Engineer unit for most armies.
5. Scramble (or Scoot)
If your target already has 3 or 4 pins when it is time for your X-launcher to act, then it can be more effective to hit tanks and vehicles of up to Res 13 with Scramble instead of Net. Against any non-Ghar vehicle, this brings their Res down by two, with Res 13 vehicles reducing their armour to a state where they become vulnerable to most weapons in your army (provided they are SV1+, of course). With Res 11-12 vehicles, of course, this instantly strips the Heavily Armoured status, making SV0 weapons even more effective!
It’s worth being aware that Scramble won’t work on Ghar vehicles, but Scoot is really effective on units like the Bombardment Crawler, forcing it to move whilst also preventing it firing it’s heavy disruptor bomber.

6. A note on Fractal Weapons
Personally I haven’t experimented much with fractal weaponry, but in theory those weapons could be paired with the suppression strategy to great effect. If you can shut down the target enough to stop it moving then you could potentially get to the magic SV10 with enough successive fire orders. In my mind the Heavy Frag borer/Fractal Demolisher(DBC) would be the best candidates for this as they either start with a reasonable SV, or can ramp up really quickly as in the case of the Fractal DBC. [Ed: Fractal DBC in conjunction with the other tactics here for suppression works quite well, forcing the vehicle to move!]
7. Bring on the Big Guns
I’ve tested these against the most common Res 11-13 vehicles that pop up, but it should work against the bigger nasties as well. Just keep in mind that the vehicles normally have a second action to shrug off pins with a Rally, and the higher Res means that you’ll need scramble to bring them down to the point where you have enough guns that can suppress them.
In the bigger games where they are more likely to show up, you probably need to scale up your anti tank efforts appropriately. Bigger launchers with net, compression bombards, some large units with good grenades. Anti-tank weapons such as micro-x with overload and plasma lances are useful against the lighter vehicles (and Ghar) but won;t touch the more heavily aremd Bastion or M25 series.

8. Know when enough is enough.
With practice you’ll get a sense of how much suppression you need to do. You don’t want to focus so much on one unit that you lose the mission. Sometimes just hitting a tank with 3-4 pins is enough to keep it from majorly affecting the game. At other times, or at a critical juncture, you may need to pile them on in order to kill it or keep it out for a couple of turns so you can get other work done. It can also depend on how lucky your opponent is at command checks.
Good Hunting!

You must be logged in to post a comment.