
Whilst most have no problems at all, from time to time players have questions about how most effectively to base, assemble or paint some of the models in the Antares range. For someone incredibly clumsy like Nexus editor Tim, advice on repairing stands or – even better – on how to make flying bases that resist being repeatedly knocked over are invaluable. Here, Geordie Irvin runs through a few tips on how he bases his flying models so they resist knocks.
Alternative Basing for Skimmers
1. Get some 2mm steel knitting needles from a craft shop and cut them into short lengths with some pliers. Probably best to use ones from your shed than your modeling ones. over estimating is better than underestimating as you can always cut it shorter. Then bend them so they will have more surface contact with the base. You can either do a basic 90 degree twist as pictured here, or do a coil (with a little elbow grease).

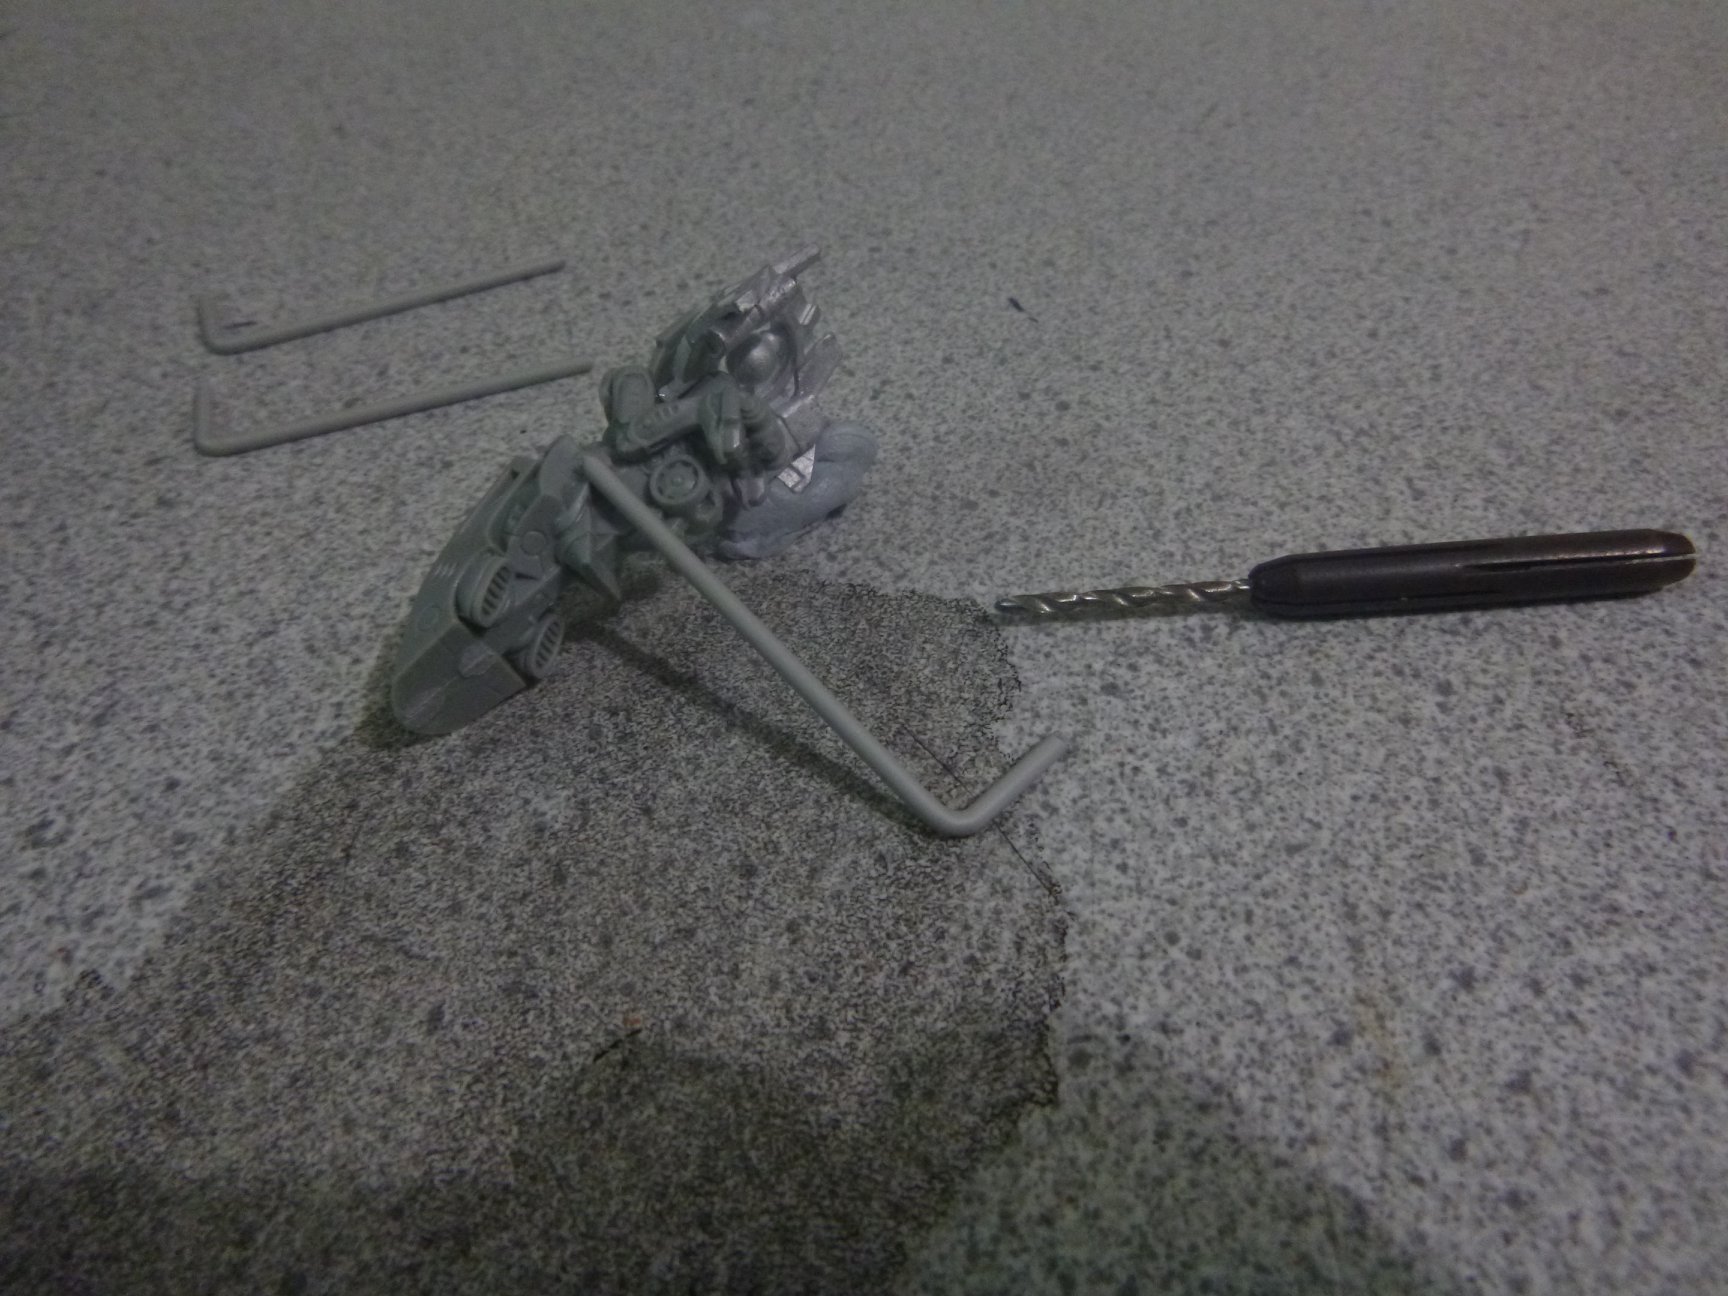
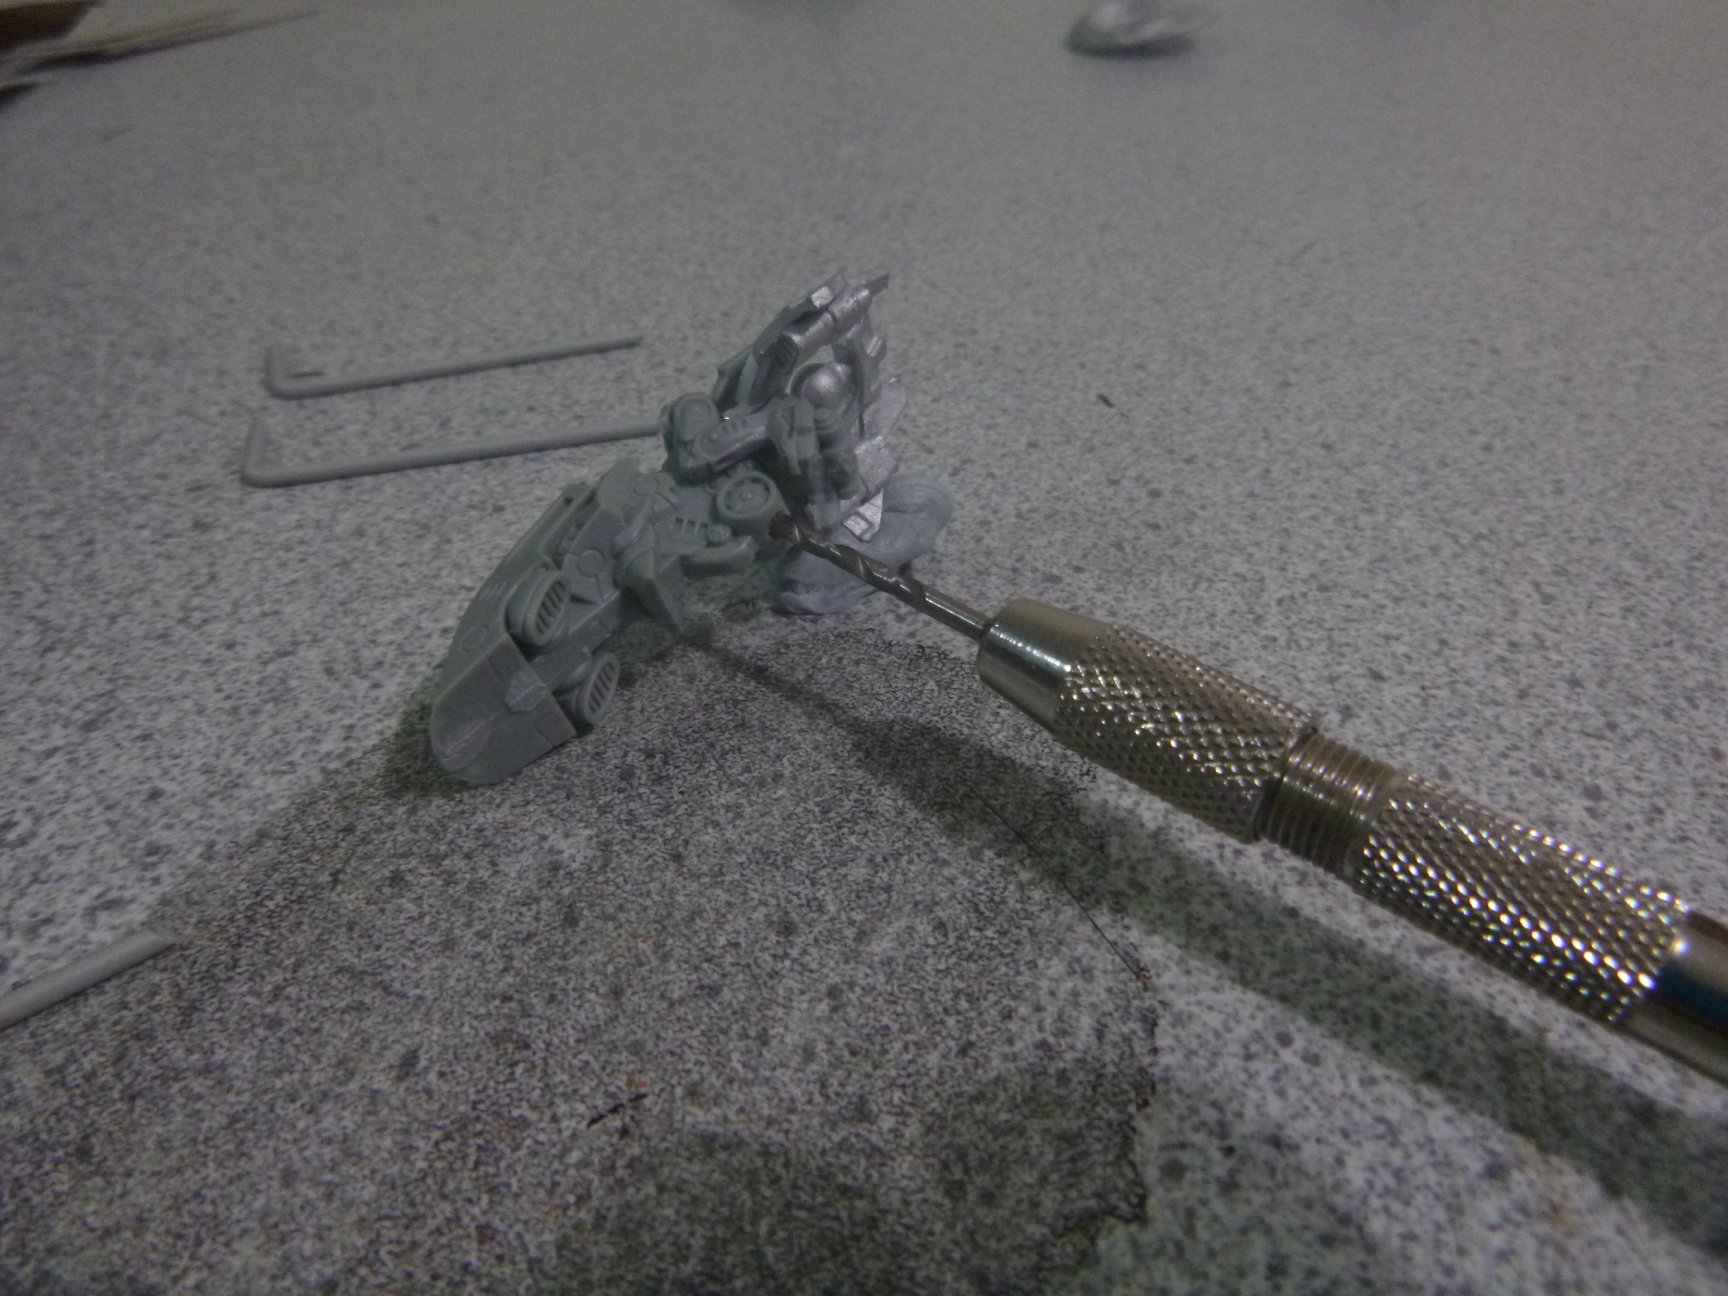
2. Depending on the model you may need to drill the hole for the flying stand a bit deeper. Most only have a little hole suitable for the tab of the plastic flying stand. For something like a bike I like to make the hole 1cm deep so that the pin has a good grip on the model.
BONUS TIP
Even when you use the standard flying stands, drilling the hole deeper can help it glue more securely. And sometimes you’ll come across a model that has a moulding fault blocking up the hole.
A 2mm drill bit will fit most models in the Antares range.
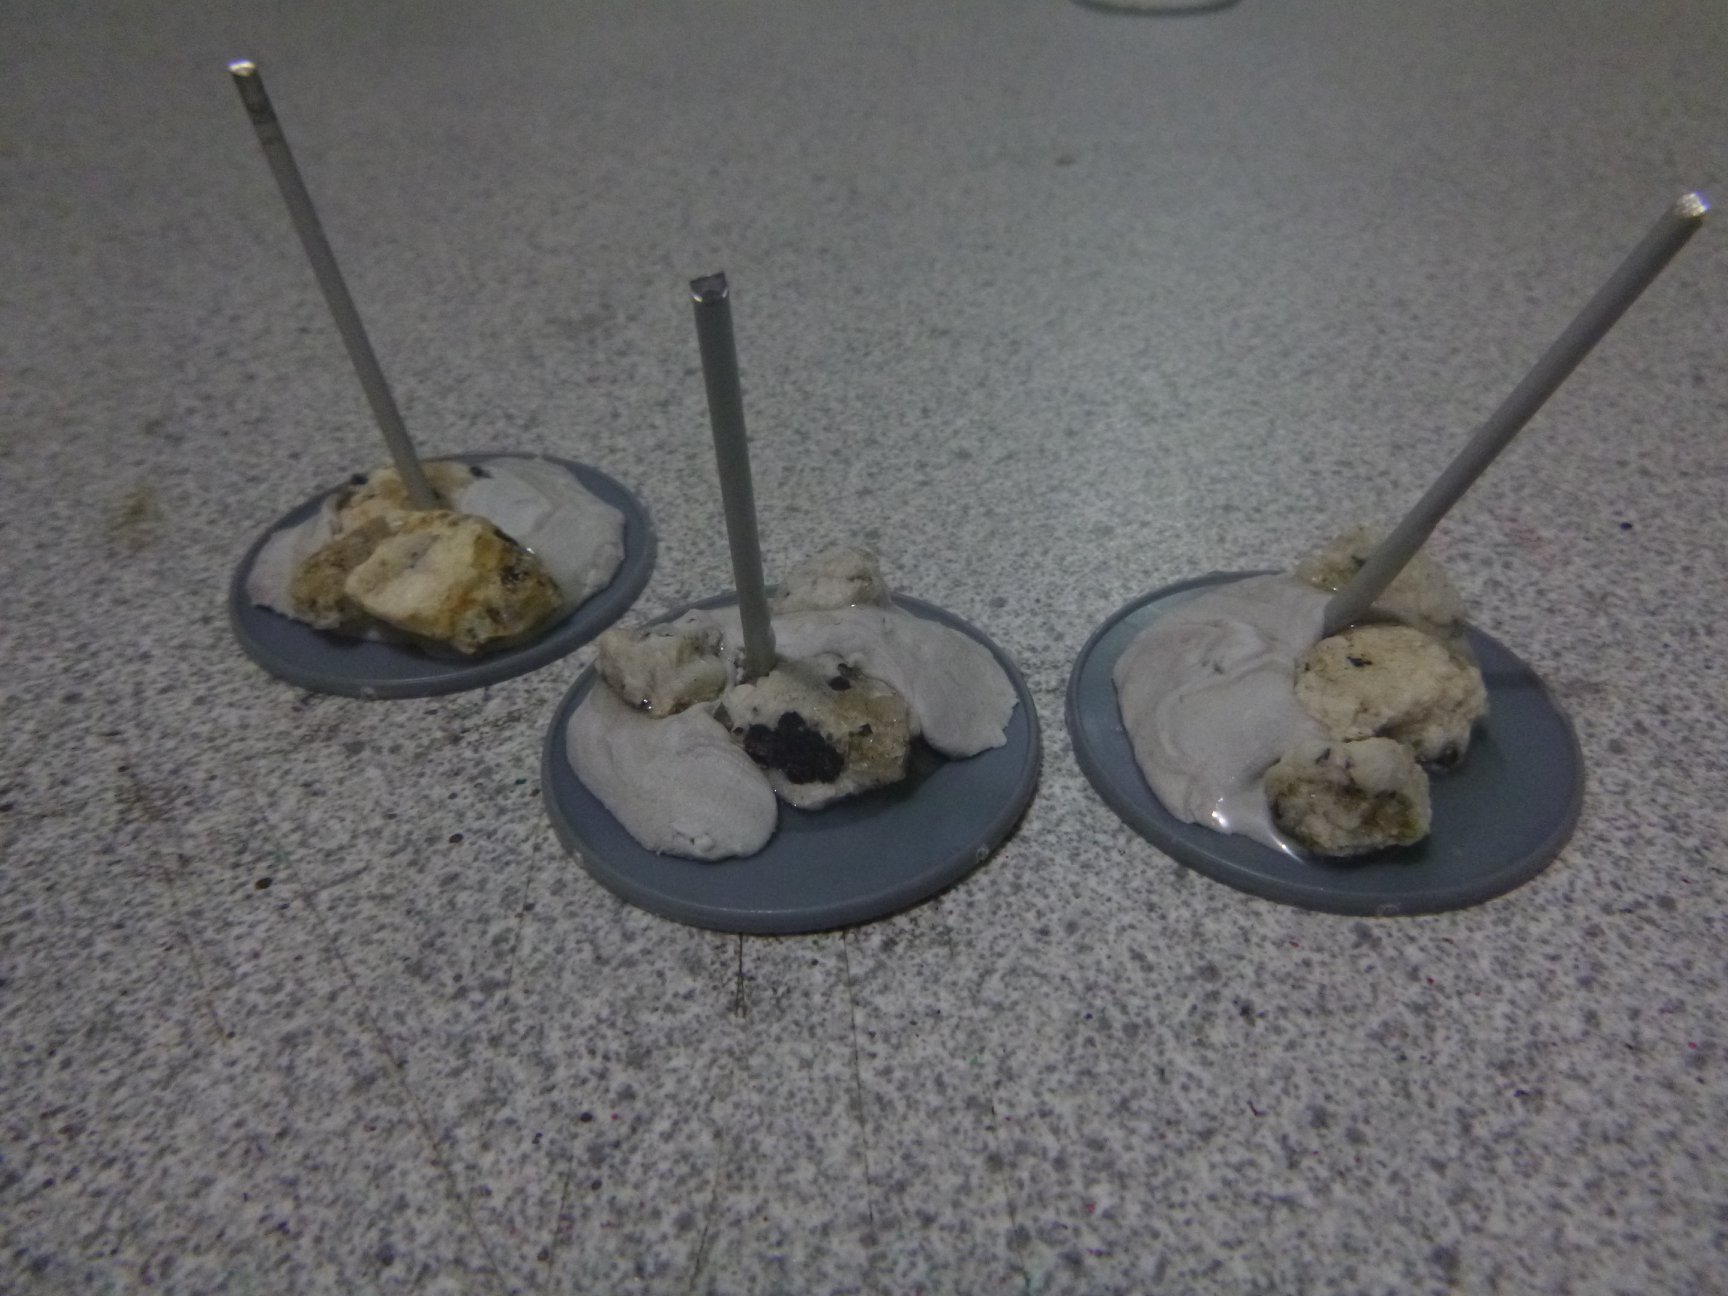
3. Secure the needles to the base you are using with something strong. I use two part epoxy.
If you don’t coil the needle so it stands up on its own it can help to have something for the needle to lean against while it dries. In this case I braced them with rocks and leaned them up against a box. If you are using epoxy, you’ll probably have to hold them for a little bit until it starts getting tacky enough to stop them sliding around.

4. Next, pad out the base with something that will help brace the stand as well as make it look cooler. In this case I’m using two part putty that painters use to fill holes. It’s kind of like green stuff, but is clumsier and sets hard a lot quicker. I had a friend of mine working with epoxy at the same time, so I stole some to help hold the rocks on. although you could probably just push them in while the putty is soft.
5. Then add basing material to finish up the surface. I just keep it simple with PVA and two grades of sand.

6. Then cut your stands to length and add the models. For the bikes I cut the stands super short because I like to have a low centre of gravity and they are on a lean. But for models on straight stands or mostly on flat surfaces you can totally leave them really tall.
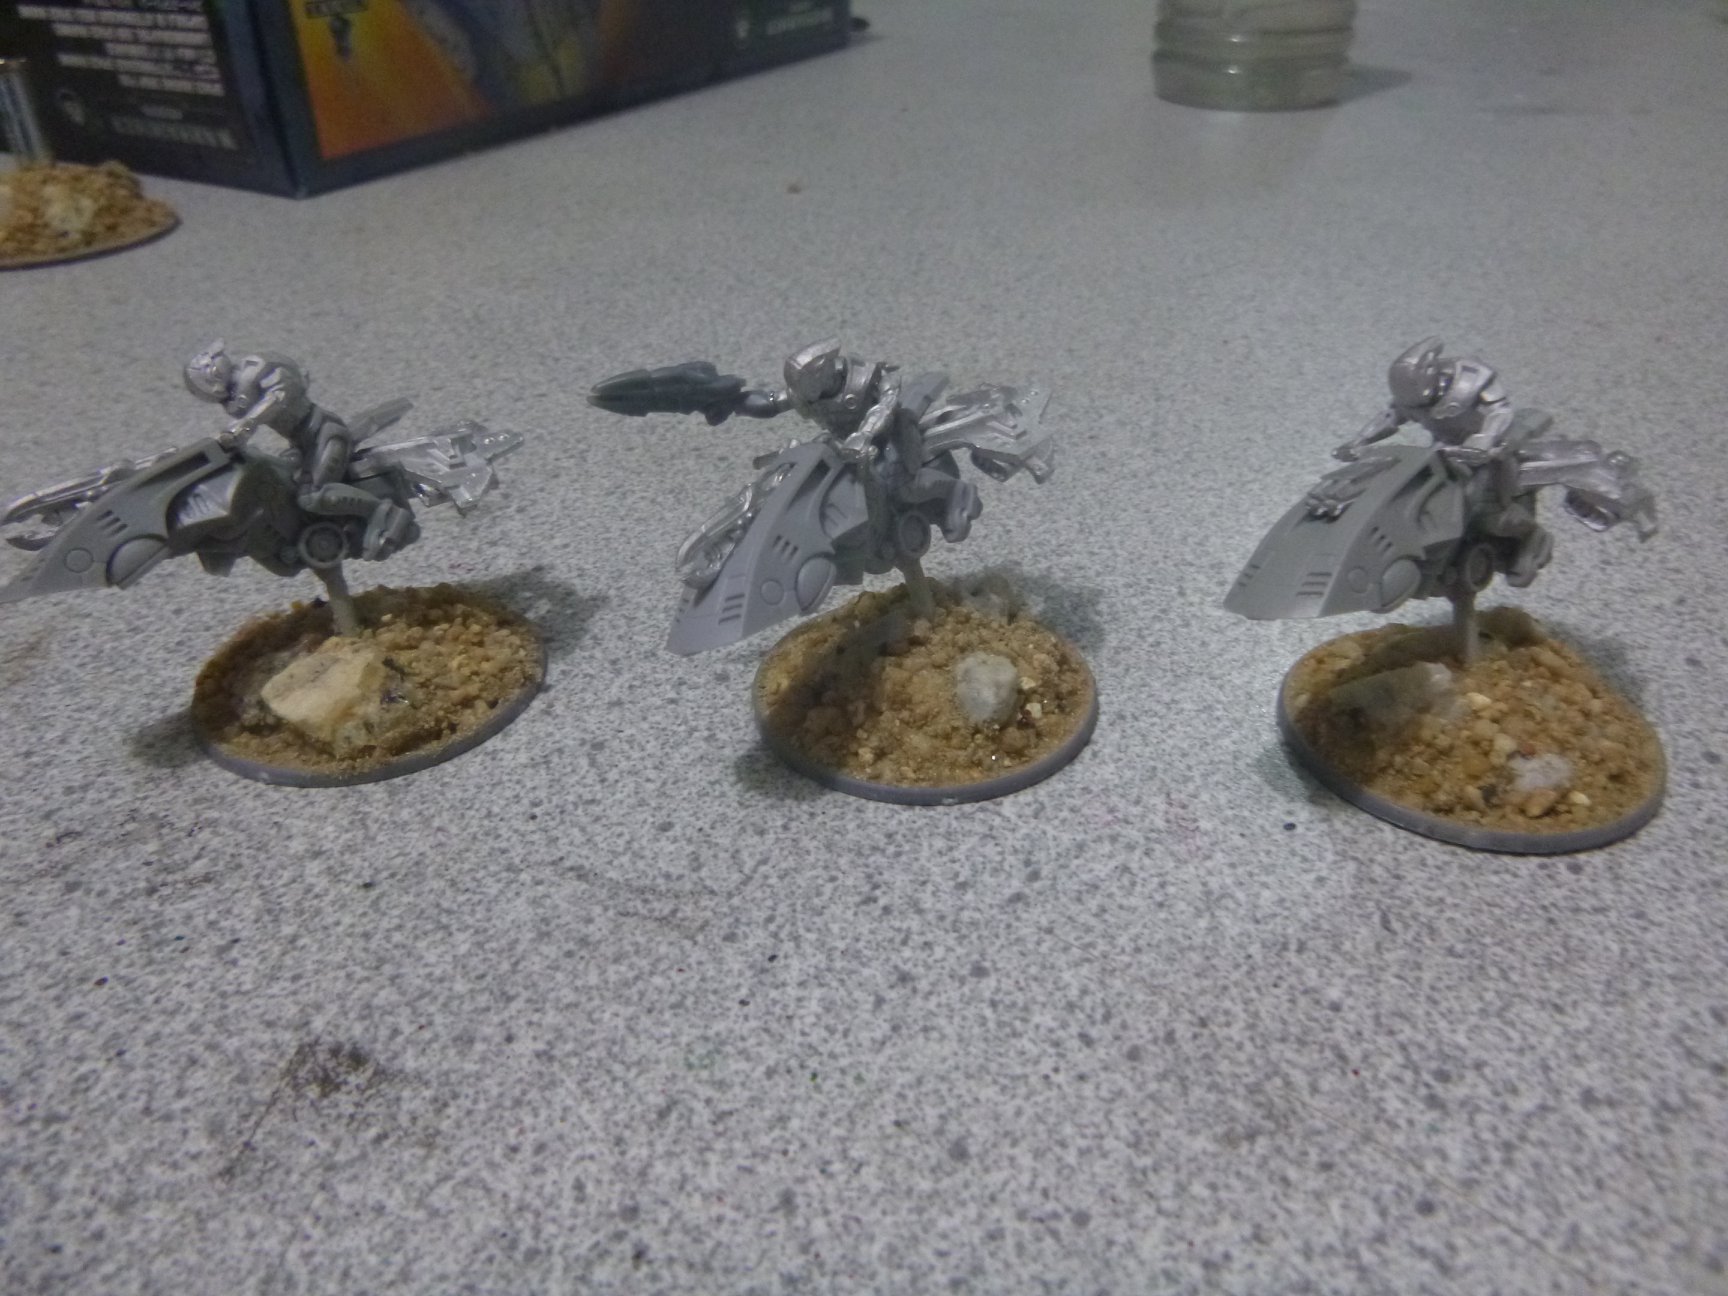
7. This kind of basing can work for all kinds of models that want to fly. You don’t have the nice clear stand, but you also never have to count down to your plastic flying stand breaking…


You must be logged in to post a comment.