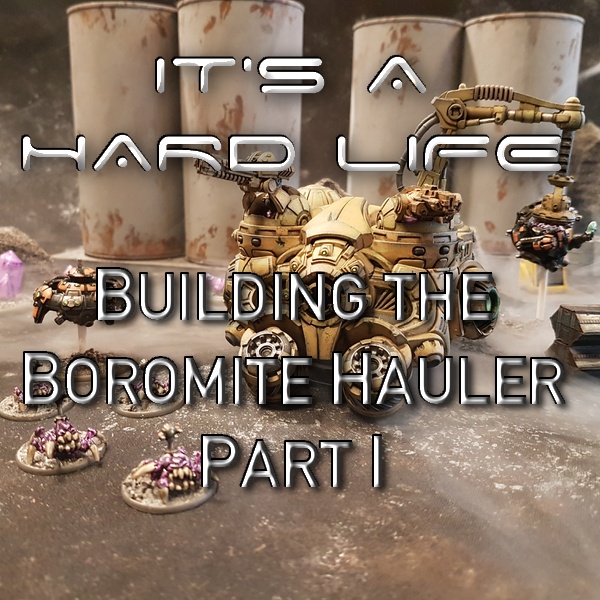
A three-part, step-by-step series on building and painting a Boromite Hauler, by Ross Aylward. The finished hauler is one of the best we’ve seen!
Ross: It was with both surprise and great pleasure that I received an offer from the very friendly team at Warlord Games to paint the, as-yet unreleased, Boromite Hauler. Pleasure? Yes: my passion for vehicle painting is in trying to add realism through wear and tear, damage, and general dirt. I don’t believe that vehicles of any kind, particularly military ones would stay clean and unmarked for long, and in the case of the Boromites who combine mining and combat operations, I would have thought this was particularly so.
I imagine that many clan vehicles would be heavily used until they broke, be subject to all manner of repairs, and then used some more, leading to some very hard worn examples. In short, a Hauler would surely have a hard life. It was this kind of Hauler I wanted to portray, showing the scars of the many tasks and missions, it had been used in.
When undertaking the project to paint the Hauler I kept a photo record, to enable me to share some of my techniques and the stages the model went through. I certainly don’t think of myself as an exceptional modeller or painter, but I hope that my comments might inspire you to have a go at something new. [Ed: We think he’s far too modest, as the final image shows!]

Preparation
The first thing I do with any model is to get out all the parts and lay them out; check all the components are there, and then start dry-fitting them, to see if any flash or other defects need correcting.

I carefully use a sharp scalpel to trim off any projecting excess material, casting lines, or flash, working through each piece in turn.
In the case of the Hauler, the only issues were around the hatches, which required a little work to remove material so that they would close.
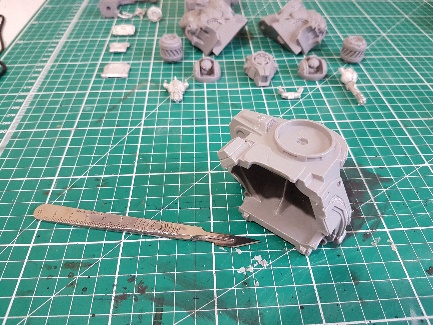
Offering up the parts throughout this process helps to ensure you don’t take away too much.

Once all the cleaning up of the components is complete, I always give them a wash in some soapy water, brushing into the recesses with an old toothbrush. This is because resin and other injection moulded material can often have release agents on them when they leave the factory, which will impair paint adhesion. Washing is a simple way to ensure these are all removed before painting.

Once dry I like to give the components a final test fit. As much as anything else this adds to the excitement in being able to see the shape and lines of the finished model, and what a great job the sculptor has done in creating a brilliant vehicle. This is a last chance to make any adjustments before gluing the primary components together (hopefully) for good. For resin kits like this, I use superglue. Be careful as always not to make yourself a part of the model!

When the glue has dried there are inevitably some gaps, and a liquid filler like that shown can be used to eliminate these. Build it up slowly in layers. Once dry you can carefully sand back to a level surface. It is much better to address these kinds of things before priming if possible, to avoid any lines or unwanted changes in finish showing through when painting commences.

Not shown in the photos (due to my forgetfulness!) is the adding of magnets to detachable parts. This is also done at this stage, before priming.
Ross continues his article in ‘It’s a Hard Life Part II – Painting‘.

You must be logged in to post a comment.