
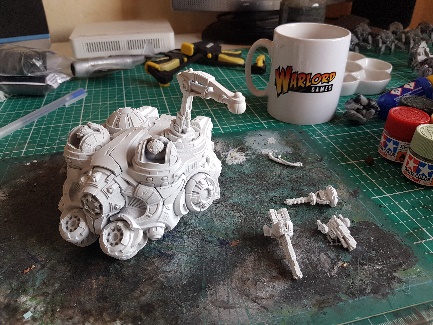
We asked Ross Aylward to paint a Boromite Hauler for us and end us some notes. What we ended up with is a fantastic three-part series, starting with Part 1, Preparation. Here, he continues with a step-by-step guide to painting the hauler.
Ross: It’s important to me that vehicles – especially the Hauler – look like they’ve bee well used. In part 1, I discussed how to tidy up, clean, wash and assemble the Hauler with steps pertinent to many resin vehicles. In this part, I continue by running through the basic painting coats, including how to make the model look suitable weathered and work-worn.
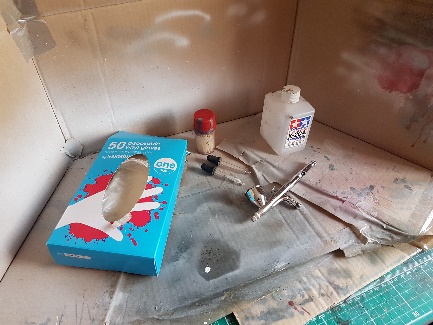
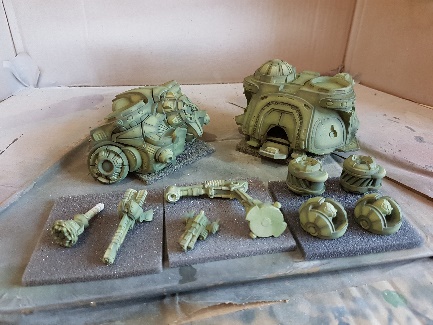
We now prime the model. I use a car body primer for this, as it is quick and easy with a rattle can. When priming, think about the most visible surfaces to avoid damage to these. I usually prime the underside first, then the upper (more visible) surfaces last. Spray in light coats to avoid loss of detail, moving around the model to ensure all recesses and angles are evenly covered.
Painting is now ready to begin in earnest. I use a mixture of airbrush and brush painting techniques. For airbrushing, be sure to have a suitable mask and a spray booth in a well ventilated area, I also use disposable gloves.
The best tip I can give when thinking about painting vehicles is that no panel should look flat or uniform in colour. Even on a new vehicle the paint would not look evenly coloured to an observer due to light falling on curves and angles, and we need accentuate this at scale. On a vehicle which had been well used and faded, this effect would be even more pronounced.
Typically, I look to ensure that the centre of panels appear lighter than the edges. To achieve this, I use a simple pre-shading technique, which I find quicker than post-shading. To do this choose a dark grey or much darker version of the top coat, and spray an outline around each feature and edge.
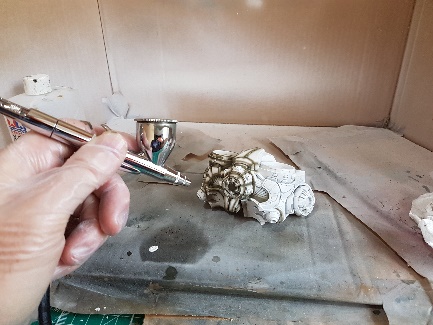
This image shows the whole Hauler with a full pre-shade to all components. It does look quite odd if you have not done this before, and the contrast is very stark, but that is how it should be if you want the effect to remain visible upon completion. You can be as subtle as you wish to suit the look you are going for, but I like a bold effect, which can always be toned down in the top coat.
The next stage is to build up the topcoat. Under most circumstances this would be the final colour, but as we shall see I wanted to try something a little different with the Hauler. It is important to build up this coat slowly in thin layers, working evenly around the model so as not to lose the effect of the pre-shade. Stop regularly and look at the model in good light to see the effect.
The more faded and worn you want the model to appear, the thinner top coat should be applied, to leave the pre-shade showing through, but not enough to see distinct lines.
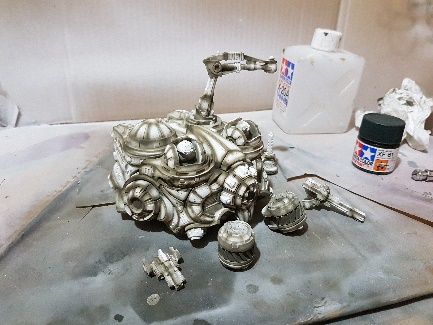
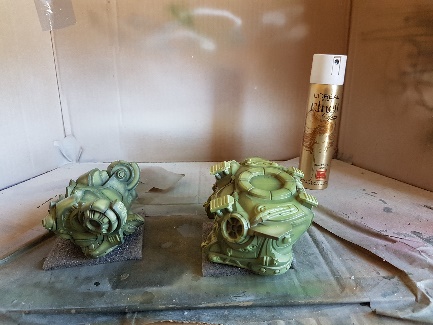
At this stage I have finished with the green ‘top coat’. I have stopped earlier than I otherwise would have done so that the pre-shade is still very visible. This is because I wanted to add a second, different, top coat to suggest that the vehicle has been resprayed at some point in the past, the idea being to have some of this later upper coat worn away, with the green coat showing through.
To achieve this, and allow the upper coat to be ‘worn’ away, I firstly gave the whole model a coat of varnish to protect the underlying green and pre-shade coats. I then gave it several light coats of hairspray, and let these dry.
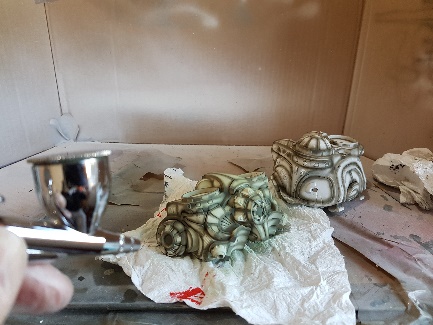
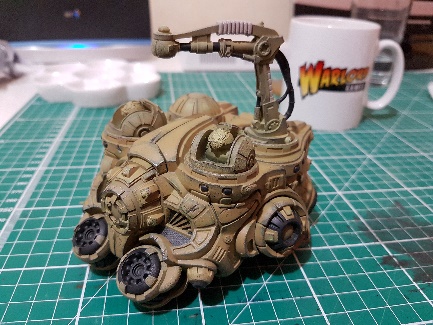
The second top coat, in this case a sandy colour, was then applied. This image shows the contrast between the main cockpit section of the Hauler, which has had the sandy colour applied, and the front turbine, which is still green.
Once the second top coat was just dry enough to allow the model to be handled, I used a cotton bud and warm water to gently remove the sandy colour around edges and areas of wear.
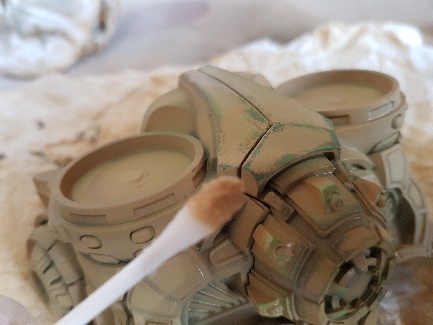
Rolling and rubbing the bud across the surface of the model dissolves the hairspray underneath, and allows the upper coat to come away in a very realistic way. Concentrate on the areas of highest wear, and stop to look at the effect regularly.
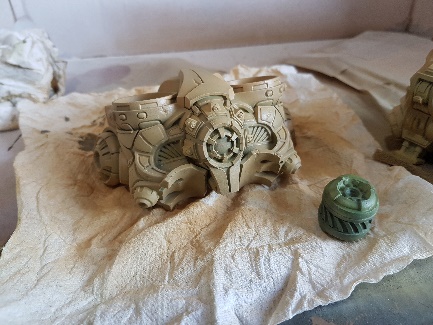
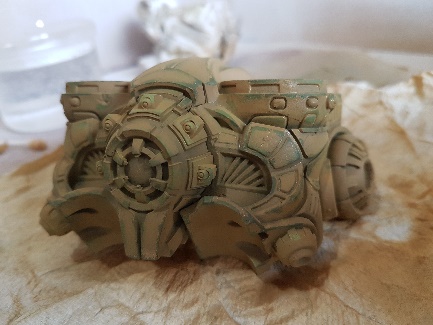
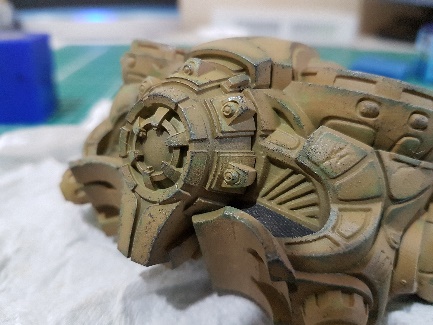
This image shows the front section of the Hauler with the wear to the upper coat complete.
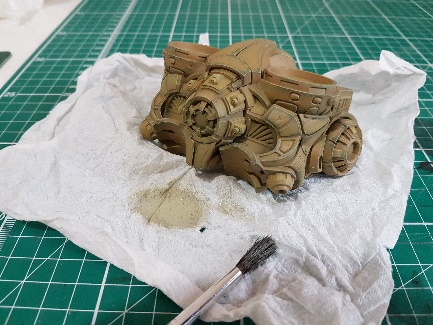
The next stage was to apply a very light drybrush to the model to bring the edges up and homogenise it a little. Be careful not to overdo this, or the effect of the previous stage will be lost.
The next effect to be added, and one which I frequently use, was to give the impression of paint chipping. The look of chipping to leading surfaces and edges, giving the appearance of exposed primer and even bear metal really adds to the appearance of a heavily worn model, and makes the whole thing seem ‘heavier’ as if really made of solid material.
To do this I use a mix of anthracite and steel colour paint (although other colours also work), and gently apply these with a piece of sponge by dabbing it on the surface where I want the chips to show.
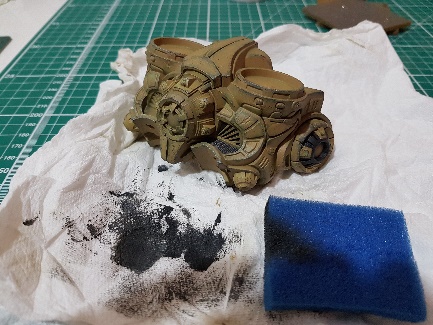
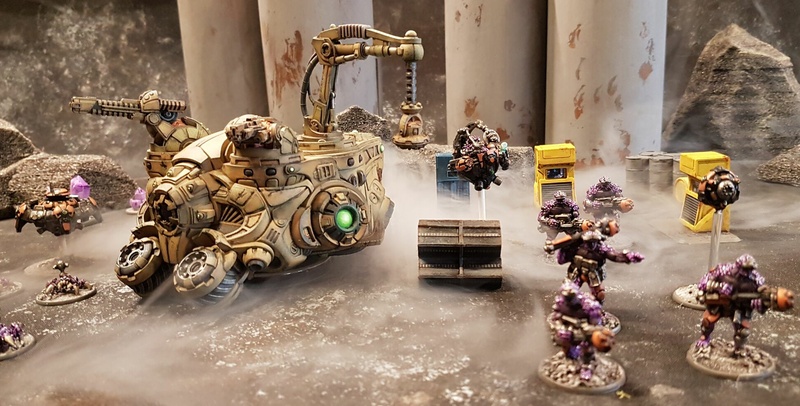
Be careful not to have too much paint on the sponge, or you will get splodges rather than chips! Test the sponge first on an old model or piece of card. This image shows the complete effect on the cockpit section of the Hauler.
Lastly as part of this stage I brush painted all the parts I wanted to be ‘black’. Another top tip is never to use actual black paint on a model unless you want something to look very very black. I find that an anthracite looks much better at scale.
Once I had repeated this process to all the parts, I applied another coat of varnish to seal the worn paint ready for the application of shading and weathering.
Ross continues his article in Part III – finishing touches

You must be logged in to post a comment.