We asked Ross Aylward to paint a Boromite Hauler for us and send us some notes. What we ended up with is a fantastic three-part series, finishing with this article showing the finishing touches.
Ross: to me it’s important that vehicles like the Hauler look as if they’ve been well used. In Part 1, Preparation, I discussed how to tidy up, clean, wash and assemble the Hauler with steps pertinent to many resin vehicles, and Part 2, Painting, looked at the basic painting, including how to make the model look suitable weathered and work-worn. This part completes the model with some finishing touches.
Shading and Weathering
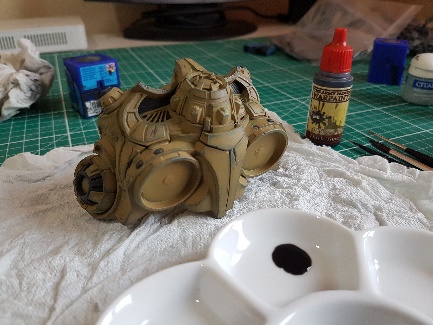
To begin the underlying shading, I wanted to put very strong dark shadow into any recessed areas or ‘holes’. For this I used some un-thinned ink, allowing it to dry into the crevices. I don’t use this kind of ink type shade across a vehicles surface, as I might on a figure, as it can take away all the other effects too much, so it is just for highly shadowed recesses, carefully applied. This was done to the whole model.
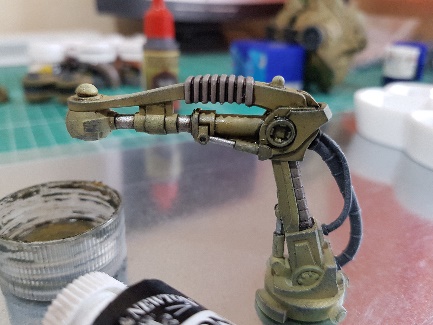
For the next stages I will use the crane from the rear of the Hauler to demonstrate the techniques used. Initially I have painted some steel colour on the pistons, colour to the concertina cover on the top of the arm, with subsequent shade as described above, and dry brushed the hydraulic lines in a light grey to give the appearance of rubber and highlight the ribs.
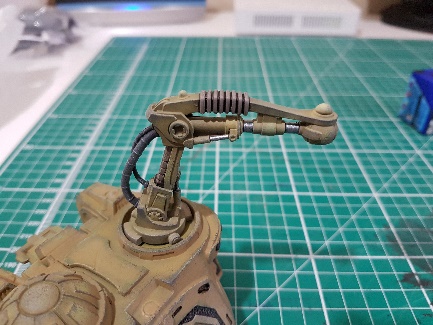
The pistons were then washed in a few coats of brown ink with some floor polish added. The latter imparts a glossy look to the wash, making it appear like grease on the piston.
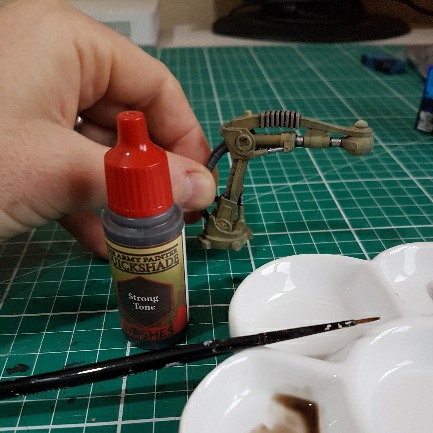
The main weathering medium I use is thinned oil paint. I take a mix of black and brown or ochre in an old paint pot, thinned with white spirit.
When applied over a gloss or satin varnish it will run into the recesses, and can be worked as required by the application of more white spirit. Using the brush, you can carefully choose either thicker or thinner medium to apply. This is used to flow into recesses, panel lines, and moving parts.
The pistons then have a dry brush of bright silver to their centres, to show where these have been polished by continued use.
The next stage is to build up concentrations of dirt, with some greater texture, or streaking to the surface. For this I use weathering powders, mixed together or individually applied depending on the colour I want, and with water or white spirit as a medium.
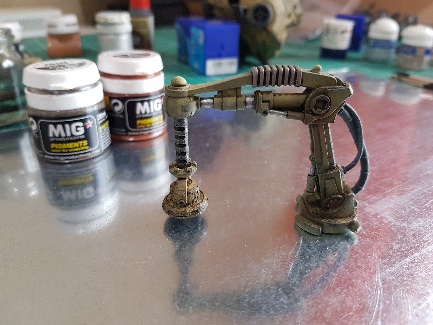
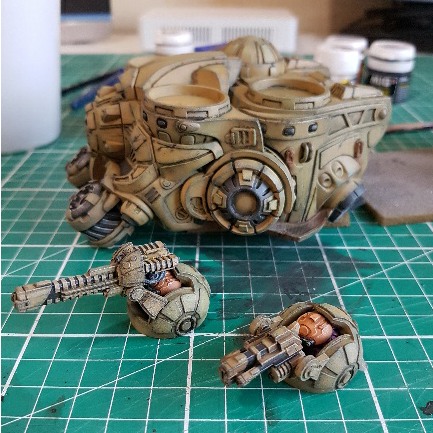
This image shows the complete crane, with a dirty/rusty crust applied to the lifting part, and around the base.
Methodically, this same process was then applied around the entire model. When doing these stages, think about the vehicle and how it would be used, and where dirt would settle.
The oil paint wash settles nicely around the recesses, adding both shade and some texture akin to dry dirt and dust.

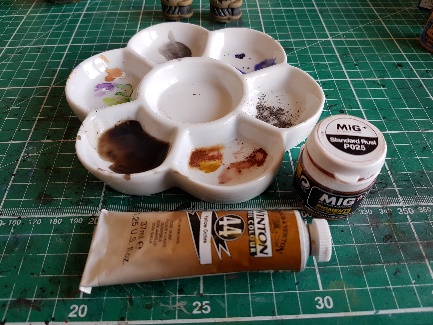
Where rust is to be added, a mix of ochre oil paint, rust coloured weathering powder, and white spirit was used. On some models I would rust them heavily, flicking on the mixture and manipulating it with thinners by brush or airbrush. In the case of the Hauler, I decided not to add too much rust, just using it on lifting shackles and deck plates to hatches.
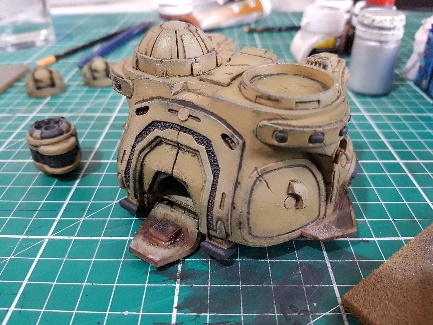
The lower hatch shown here illustrates the dirt and rust applied heavily in the recessed areas from the work boots of the Boromites.
At this stage I also brush painted the gunners in the two sponsons, to paint their helmets and torsos before gluing the weapons over the top.
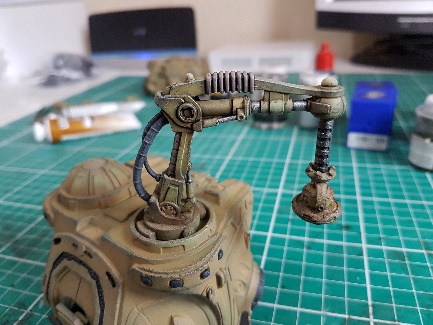
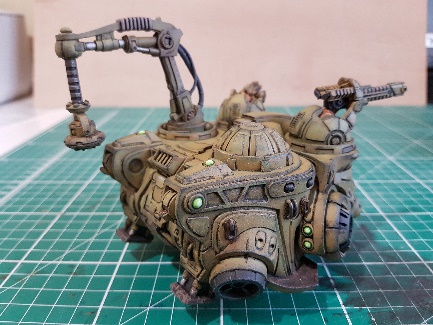
This image shows the Hauler assembled with the wash and weathering powder complete. You can also see the turbines have received a dry brushing of steel and silver highlights.
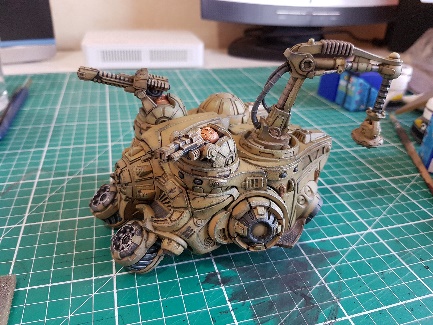
The Hauler offers lots of flexibility in game play, and to preserve this I magnetised the two weapon sponsons, the crane, and the cockpit from the rear cargo section so that these can be separated. [Ed: in Antares 2, the hauler comes with a mag light suppurt and built-in frag borer but can be modified to take the weapons stated.]
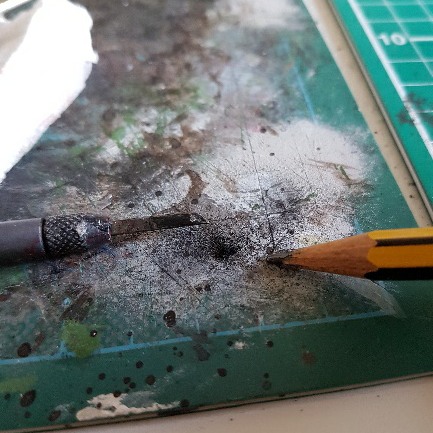
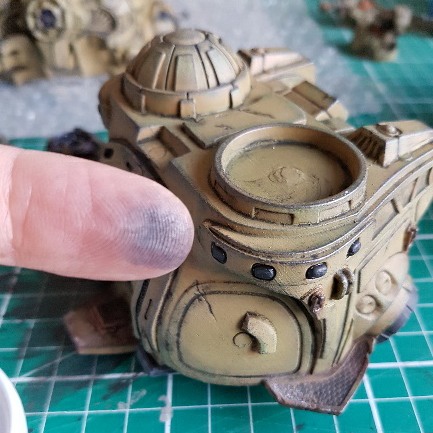
With the rest of the weathering complete, the final touch was to use some graphite from a pencil, which creates a very realistic metallic sheen to exposed edges. This was rubbed gently onto the model using my finger. I only do this on areas where fresh and heavy wear would be found. It also works well on ladders, ramp edges etc.
Highlighting & Finishing Touches
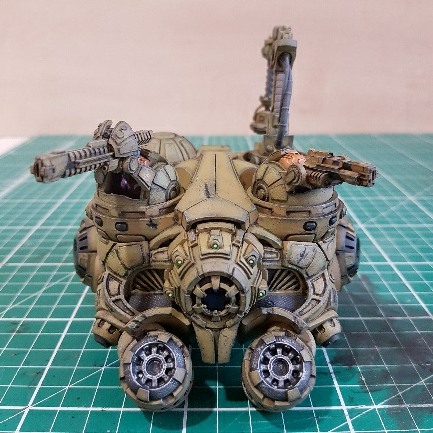
The final stage was the completion of brush painted elements like the windscreen, and highlights, such as the lights, suspensors.
These really add the finishing touches to the model, and lift the whole thing. With a worn and tired looking model, having some contrasting bright, clean, looking energy from highlighting does add life to the finished model, especially in a science fiction vehicle like the Hauler. I really enjoyed making the Hauler, and the finished model looks very purposeful and suitably worn for its Boromite owners.

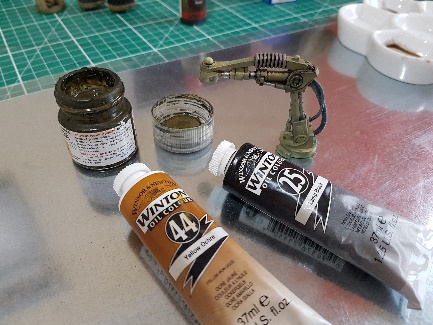
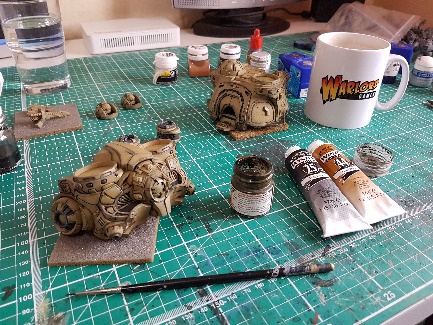
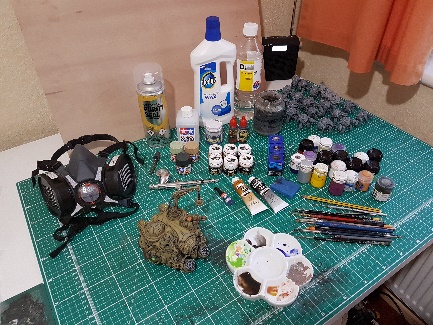
I hope you have found some interest in seeing how I approached it, and have a go at some of these techniques yourself. Remember, you can always try things out on an old or cheap kit first. Oh – this final image shows most of the materials I used in making and painting the Hauler. As ever, there are a myriad of suppliers available for most of these products, and we all have our favourites, so try out something new and happy modelling!


You must be logged in to post a comment.